Your Cart is Empty
One of the things that was hardest for my family when our son was first diagnosed with allergies was what bread to buy. I always bought a quality additive free bread but when he could no longer have dairy, soy, eggs and nuts I couldn’t find any bread to buy so I had to learn to make it pretty quickly because he really liked bread!
I managed to get my mother-in-law’s bread maker which I quickly wore out, then I got my sister’s old one (which I also wore out) and now I’m onto my mums – yay for great families!! Anyway, even with the bread maker I couldn’t even find a recipe free of those allergens and this was when we still had wheat to work with. I set about creating my own recipe so I thought I’d share that with you today.
Now even though I have a Thermomix I still really like to use a bread maker. I don’t cook the bread in the bread maker because I don’t like the shape of the loaf or the big hole in the middle. It also takes a bit long in the machine I have. I have experimented with mine quite a bit and this is how I do it. I make the dough using the pizza dough setting so it’s ready in 45 minutes, I take it out and put it in a really good quality tin I got from the bread making shop for about $35. A good tin really does make a massive difference to how well your bread cooks.
I pop the dough in the tin straight from the bread maker and into a cold oven, and set the temperature so that the second rise happens in the oven as it heats up. That way it only takes 45 minutes to make the dough in the machine and the 40 – 60 minutes for the loaf to cook. I also bought a French loaf tin from the bread making shop and that’s great if I want to make bread when we have visitors or even if I want hot dog type rolls For Master 8.
TIP: It’s really important when you make your bread that the salt does not touch the yeast or it won’t works as well. I always put the wet ingredients in the bread maker first, then the salt followed by all of the dry ingredients and the yeast on top.
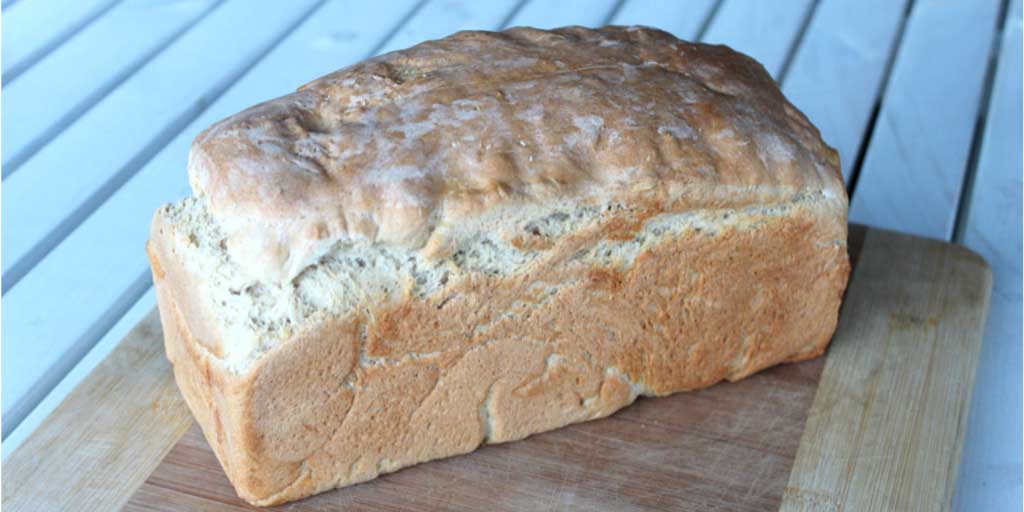
Happy Tummies Regular White Loaf – dairy, egg, soy and nut free
Dry ingredients
500g baker’s flour (I use organic)
1¼ tsp of quality salt
1 tbsp of sugar or rapadura
1 tbsp of white chia seeds (optional)
1 tbsp of psyllium husks (optional)
Wet Ingredients
1½ cups filtered water
1 tbsp of olive oil
1½ tsp of yeast
Start the bread maker to make a dough. When ready, put dough into the tin and into a cold oven and set temperature at 200° C. Cook for approx. 40 minutes.

To make it into pizza dough:
To the dry ingredients only add the following:
220mls water
2 tbsp olive oil
1 tbsp yeast
Make the pizza dough exactly the same way to use spelt flour – just swap the bakers flour for the spelt. Don’t worry about adding extra yeast.
To make it into fruit bread:
Add an extra 2 tsp of sugar or rapadura
Add 2 tsp cinnamon
Add 1 tsp mixed spice
Add 1 cup mixed fruit or sultanas (I only use organic sultanas to avoid sulphites)
Make sure you add the mixed fruit towards the end of kneading so it’s not all mashed up during kneading. My cycle is 45 minutes long and I put the timer on to add with only 20 minutes left. If you’re lucky enough to have a fruit dispenser on your machine that makes it easy!
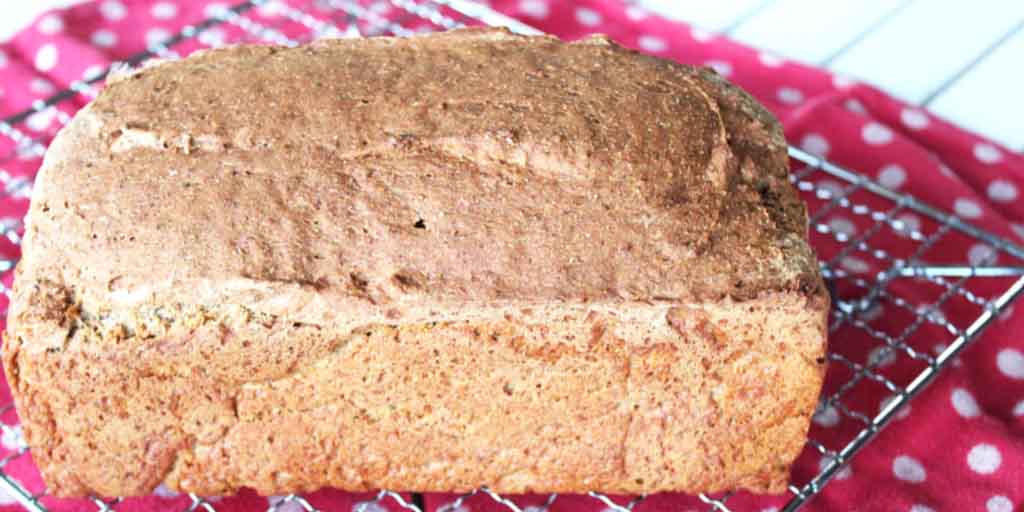
Happy Tummies Rye & Barley Loaf – wheat, dairy, soy and nut free (can be egg free)
This is the bread I make for Master 8 who is no longer gluten free. He can have rye and barley now so I like to make this loaf so I can add as much goodness into it as possible. If you have tried to make bread with rye you will understand how tricky this flour can be to work with. I couldn’t find a recipe anywhere that worked so I needed to create my own. I got the idea for this loaf from Cyndi O’Meara’s gluten free bread recipe from my Thermomix cookbook and I found this version of it on the Recipe Community – you can have a look here.
Pop the ingredients into your bread maker in this order:
400mls filtered water
30g macadamia oil or olive oil
2 eggs
1 tsp apple cider vinegar
1 tsp quality salt
2 tbsps rapadura (or sugar)
140g arrowroot starch
260g rye flour
80g barley flour
40g chia seeds (feel free to pop in any mix of seeds you like here)
2 tsp of yeast
To make egg free use chia ‘eggs’. Grind up 2 tablespoons of chia seeds and add to it 6 tablespoons (120mls) water. Set it aside to gel. After a few minutes when it’s like a gel use it in place of the eggs.
Start the bread maker to make a dough. Put dough into the tin and into a cold oven and set temperature at 180° C. Cook for approx. 60 minutes.
I find that I need to open the bread maker during mixing and scrape the flour down a bit so it’s all incorporated.

So what if you need a gluten free bread?
When my son was gluten free he was also rice and egg free which made it difficult to find a suitable bread recipe. I came across this recipe by Karina at Gluten Free Goddess. I’ve only modified her recipe a little bit and my version is below. Note that this bread is easy to make by hand. When we traveled overseas a few years ago it’s so simple that I could make it up in a holiday apartment without a bread maker or Thermomix and it still worked great!! Check out Karina’s full instructions here if you’re going to make it by hand.
Pop the ingredients into your bread maker in this order:
280mls filtered water
45g macadamia oil or olive oil
1 tbsp of honey (26g)
½ tsp lemon juice
2 eggs (or egg replacer of choice)
1 ¼ tsp quality salt
125g arrowroot
190g sorghum flour
80g oat flour (oats are not gluten free so if not safe for you substitute with millet flour)
2 tbsp chia seeds
2¼ tsp yeast
To replace eggs use chia egg as described above in the rye bread recipe. You can also use Organ No Egg. Use 1 tablespoon of No Egg and whisk it with 60mls warm water until frothy. Add it as normal.
Same method as above, start the bread maker to make a dough. Put dough into the tin and into a cold oven and set temperature at 180° C. Cook for approx. 50 - 60 minutes.
Karina’s version also has 2 teaspoons xanthan gum. I think it probably has a slightly better texture with xanthan gum but you can definitely make it successfully without and I don’t usually add it.
This isn’t a really big loaf. I often increase the ingredients by half again to fill the bread pan and make a nice big loaf! This bread is really yummy as fruit bread. To make it fruit bread simply add the same ingredients listed above for my regular fruit bread loaf. Remember not to add the fruit until most of the mixing is done!

Here's another tip for you: If you regularly make your own bread, when you make your next loaf measure out a number of batches and store in large jars, freezer bags or snap lock bags. Next time you make a loaf simply pull out your dry mix and add the wet ingredients and yeast! This will save you time and make life just a little bit easier!
Lisa x