Your Cart is Empty
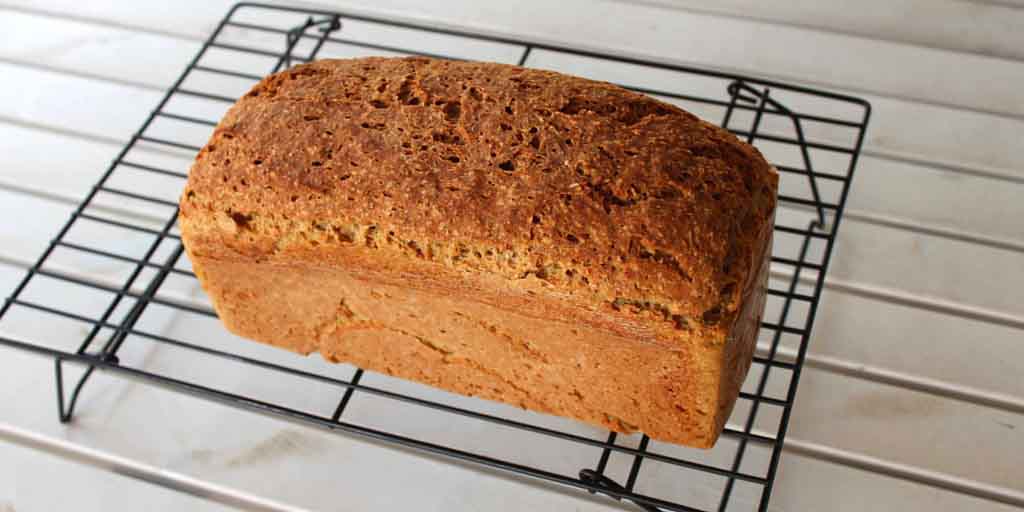
I make gluten free bread at home a lot. We love fresh bread and it means I can vary the ingredients to include a variety of grains in our diet. In addition, I can avoid foods that my son can't eat like wheat, rice and soy. I've picked up a few tricks along the way when making gluten free bread so I'm going to share them with you today!
1. Don't let the salt touch the yeast or the bread won't rise. Put the salt in the water at the bottom and yeast on top of the flour so this can't happen. I always put all of the wet ingredients in the bowl first, followed by salt, flour and other dry ingredients, seeds or nuts if I'm using them and lastly the yeast
2. The small amount of apple cider vinegar will help the bread rise better without affecting the taste
3. Gluten free bread does not need to be kneaded. You can mix it in a Thermomix, with an electric mixer or even just by hand in a bowl which is handy when travelling
4. Gluten free bread only needs to rise once, so when it's mixed place dough in your loaf tin to rise
5. A good quality bread tin from a bread shop gives better results. These should not be washed I found out when I bought a new one recently! The lady in the bread shop was not at all happy when she saw the condition of my tin that was about 7 years old. I thought it was good - it's done a lot of work ;) I recommend if you're also baking bread with wheat and you have a child with food allergies or coeliacs disease that you have a separate tin used only for gluten free bread
6. Gluten free bread takes a bit longer to rise. It will need about 45 minutes to an hour. In summer I do this outside and cover loosely with greased alfoil. In cooler months I rise in the oven, also covered, on 50ºC
7. You will need to cook gluten free bread at a lower temperature and for longer than regular wheat bread. I cook mine at 180°C for 50 minutes. If the oven is cold give it an extra 5 minutes. If you've risen the bread in the oven at 50°C just turn it up to 180°C and cook for 50 minutes
8. Don't be scared to modify this recipe. Have fun with your baking and change the flours to suit your family. Just make sure you swap flours of similar weights to each other. If you need some help doing this or want a copy of my weight conversion chart head on over to this blog I did recently on gluten free flour - click here. You could also add seeds or ground nuts to the bread if safe for your family. I always add 2 tbsps of ground walnuts and pecan nuts to the bread Alex eats, and macadamia oil so that he's having a small amount of the tree nuts he used to be at risk of anaphylaxis to, and he eats this at home for breakfast. I don't want to risk him re-sensitising to them again!!
I have modified this bread recipe to suit my family from an original recipe by Gluten Free Goddess. If you haven't checked out her blog I recommend you do! Her recipes are great!!

Gluten free, wheat free, dairy free, soy free, nut free, egg free
Ingredients:
400mls filtered water
1/3 cup (75g) olive oil
1 tsp apple cider vinegar
3 tbps chia seeds soaked for 5 minutes in 180mls filtered water (you can replace the chia egg with 3 eggs if you prefer)
2 tsps salt
2 cups (280g) sorghum flour
1½ cups (185g) tapioca starch or arrowroot starch
1 cup medium GF flour (white rice flour 130g, quinoa flour 120g, millet flour 140g, besan flour 120g, oat flour 140g - oats not GF)
2 tbsps (50g) coconut sugar (rapadura or sugar)
3 tsps xanthan gum or guar gum
3 tsps yeast
Method:
Enjoy!! Lisa x