Your Cart is Empty
By Lisa McInerney - Mummy Made.It
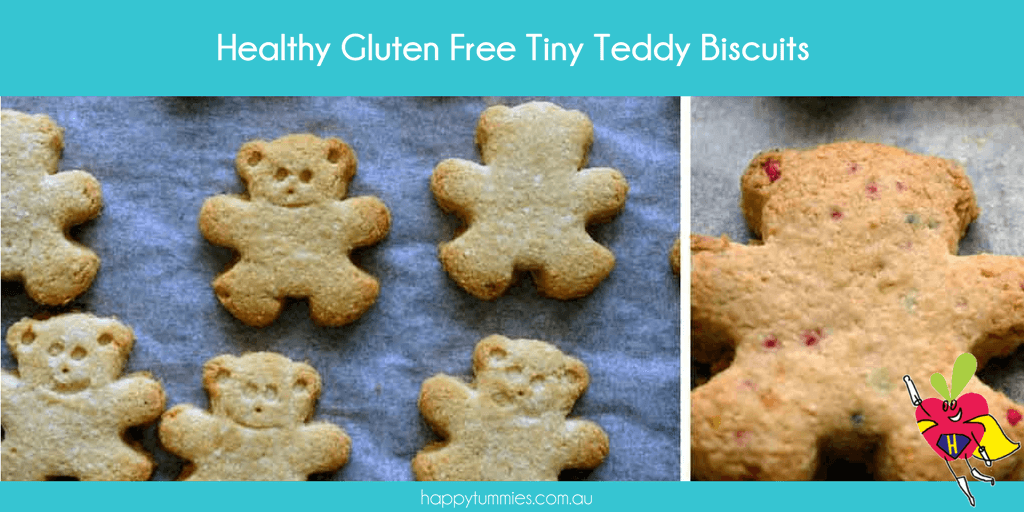
These Healthy Tiny Teddies nearly ended by blog.
I started Mummy Made.It with the intention of creating recipes so people with allergies, intolerances etc didn’t miss out. I began with all the basics; vanilla cake, dairy free custard, caramel sauce, and then slowly started to create deserts that would rival Martha Stewart (only mine usually had hidden vegetables in them).
Occasionally I’d walk through the supermarket and pick something from the shelves that I wanted to ‘make healthy’… which is how these Healthy Tiny Teddies were born. I got out my note book (I record all the attempts of my recipes in a very dirty and slightly illegible notebook) and got started on making the most allergy friendly cookie ever.
As you can imagine making a biscuit that almost everyone can eat (sorry to those of you with coconut allergies) is no easy task. As well as being dietary friendly I also wanted them to not taste like wet cardboard and to look just like the store-bought version. After several attempts I arrived at this Healthy Tiny Teddy recipe. It is Gluten Free, Dairy Free, Vegan and Paleo friendly, it can be made low Fructose by using Rice Malt Syrup and it’s also Nut and Egg Free.
It can be made in a bowl with a spoon if you don’t own a mixer / blender and it can be easily adapted to suit different themes and tastes (I’ve listed some different options in the recipe itself). To make these cute little teddies I have used a (clean) playdoh cutter but any sized cookie cutter can be used. At Christmas I use my gingerbread man cutter and at Easter my Easter Egg shape.
The baked cookies themselves can also be used for different things; including pie crusts (250 grams of cookies with ¼ - ⅓ cup of melted coconut oil), sprinkles (cookie crumbs taste great on ice cream) and the dough can be baked into small bowl shapes using a muffin tin.
I said in the beginning that this was the recipe that nearly ended my blog. I was so happy with this recipe for Healthy Tiny Teddies that I felt like my work had been done. I set out to give people options when it came to healthier desserts and treats and I was so stoked with making such a versatile and easy cookie recipe that I thought it might be time to hung up my apron… But then I decided I had to make a Chocolate version; I mean what would life without super healthy Chocolate cookies?!!
You can get this recipe and more just like it from Lisa's website here. This book A Healthy Christmas has over 60 great recipes that are great anytime of the year!

These cookies are perfect to take to a school or kindergarten Christmas Party as they cater for nearly every allergy. You can decorate them or add sprinkles to the mixture before baking too.
Gluten free, wheat free, dairy free, soy free, nut free, refined sugar free
Ingredients:
¼ cup (55g) coconut oil, slightly softened (not melted)
¼ cup (85g) maple syrup (rice malt syrup or honey can be substituted)
2 tsps vanilla extract
½ cup (60g) plus 1 tbsp arrowroot / tapioca starch
⅓ cup (50g) plus 1 tsp coconut flour
¼ tsp bicarb soda (baking soda)
Dash salt
Options
Sprinkles: Add 2 tbsps of sprinkles
Chocolate Chips: Add 50 - 100 grams of chocolate chips to the mixture. These are best baked as normal cookies (i.e. flattened spoonful’s) instead of shapes
Gingerbread: 1 - 1½ tsps ground ginger. The maple syrup can be swapped for golden syrup
Lemon: Add the zest of 1 lemon and 1 tsp of lemon juice. Poppy seeds can also be added
Method:
Recipe From happytummies.com.au - Copyright 2017 Mummy Made.It & Happy Tummies
Enjoy! Lisa & Lisa x
About Lisa McInerney from Mummy Made.It

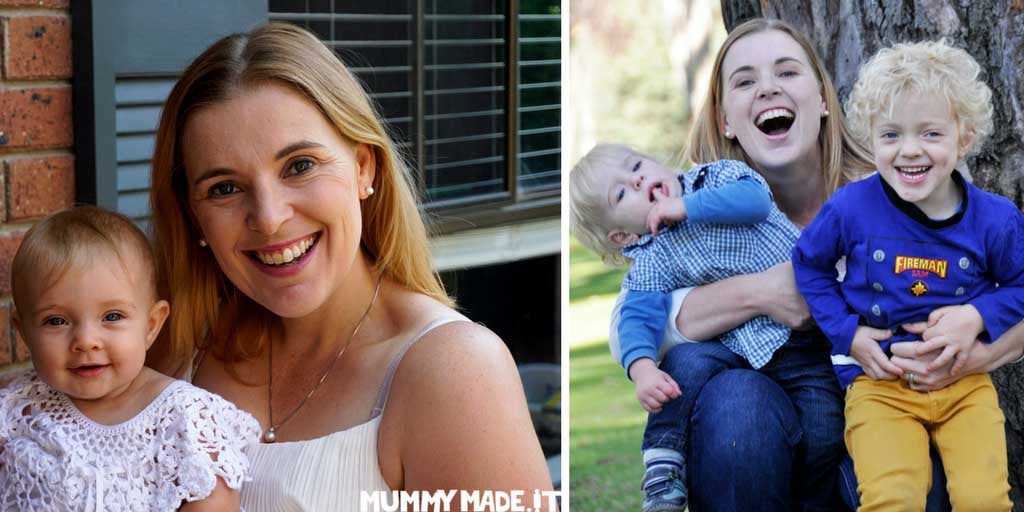
Lisa McInerney is a mum and a Chiropractor from Victoria with a passion for healthy, creative baking. With 3 young children she knows the value of providing the best possible nutrition to create healthy bodies and minds. Her website, Mummy Made.It, features healthier versions of your favorite desserts and treats using gluten free, paleo friendly and natural ingredients. Lisa has a fascination with using sweet potato in desserts and many of the recipes use vegetables and fruits in ways you have never imagined. Healthy can be Tasty!