Your Cart is Empty
Same Week Day Dispatch on Orders Before 12 Noon
Menu

Same Week Day Dispatch on Orders Before 12 Noon
By Lisa McInerney - Mummy Made.It
I love Easter. Actually I love any celebration where eating lots of tasty treats is totally acceptable, but I have always found Easter to be a particularly hard one when dealing with allergies and food intolerances.
As soon as we’ve said goodbye to Santa Claus the Easter Bunny shows up with hot cross buns and chocolate eggs. This would be easy to manage if it was for the 2 weeks leading up to Easter Sunday, but the barrage of wheat and dairy filled treats usually starts as the new year begins and so does the food envy. Thankfully there are now many allergy friendly options available but the temptation is still everywhere!!
As my kids get older Easter Bunny has had to become a bit more creative. Last year the Easter Bunny left plastic Easter eggs with clues around the house for a treasure hunt. In each egg were grapes and berries and at the end of the treasure hunt (complete with cryptic clues and a sketchy map) presents were wrapped and hidden. No one felt that they missing out after they opened their Star Wars Light Sabres! The year before, the Easter Bunny left pieces of Lego in each plastic egg around the house and the instructions at the end.
Our Easter Bunny is a chocolate free visitor!
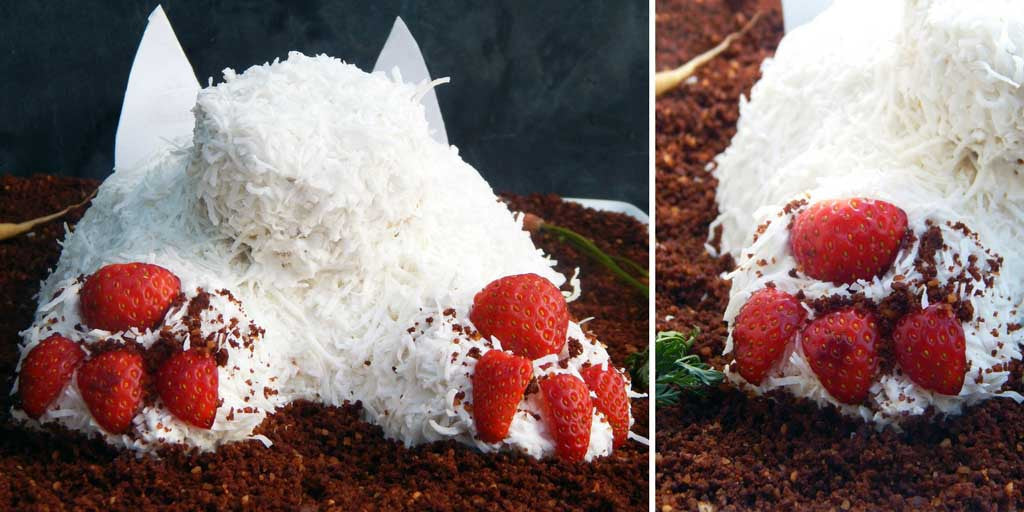
The Chocolate Bunny that I do adore is this cake version from my Healthy Easter Recipe E-Book. The kids will love taking a bite of his chocolatey bottom and eating the dirt (don’t worry; it’s chocolate cookies!) and you’ll love the fact that it’s made with vegetables and is gluten free, dairy free, nut free and refined sugar free.
Shaped or Character cakes can often seem like a daunting task but this Chocolate Bunny Cake is designed to be easily made and can be decorated by the kids. The cake is cooked in a large round bowl, instead of a normal cake tin. I have used a large glass pyrex bowl (make sure yours is oven proof first) but any rounded bowl/ or tin would work.
Three cupcakes or muffins are required to make the bunnies tail and feet; these can be any flavour you choose or simply increase the recipe by 1/4 and use the extra mixture to make 3 cupcakes.
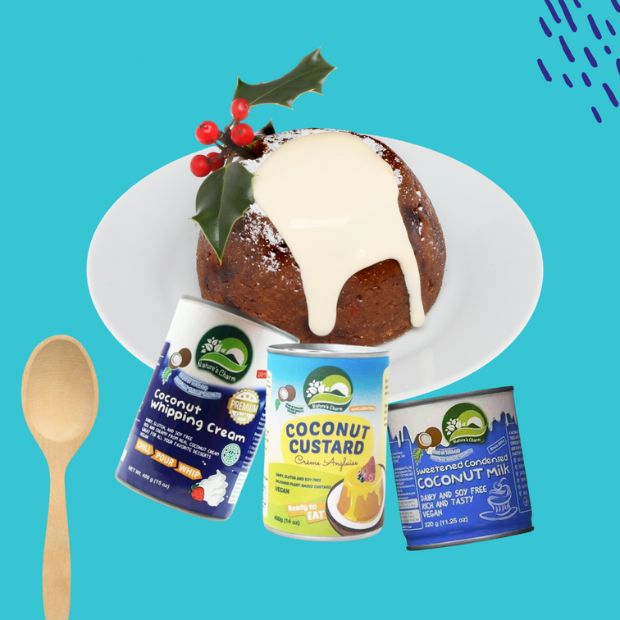
The Chocolate Bunny Cake is covered in whipped coconut cream. Whipped coconut cream is a great dairy free option for desserts but please know that not all coconut creams are equal when it comes to their whipability. Try this cream, or make sure that the cream you buy isn’t grainy. An opened can of coconut cream or milk is placed in the fridge overnight and then the thickened cream is removed from the can.
It’s the thick stuff that you need to whip up. The watery remains can be used in a smoothie or shake. If, after being in the fridge and being whipped, your whipped coconut cream is still too runny then add some gelatine to stabilise the cream.
Simply dissolve 1¼ teaspoons of gelatine in 2 tbsps of boiling water, making sure to whisk the gelatine in so that no clumps form. Once dissolved, add the gelatine mixture to the whipped coconut cream and whip to combine. Adding the gelatine makes the cream more stable and thicker but still it is still able to be easily spread and used to decorate your bunny cake. If adding gelatine make sure to leave the cream in the fridge for 4 hours after adding it.
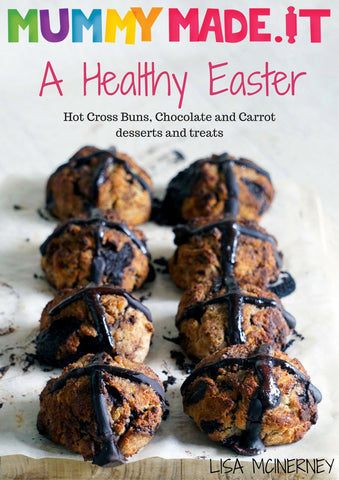
I hope you have a very tasty Easter. If you are after more tasty gluten free, dairy free, refined sugar free and paleo desserts and treats please check out my healthy Easter Recipe Ebook - A Healthy Easter. I went a bit Hot Cross Bun mad!
You can grab your copy of Lisa's fab Easter cookbook here NOW
Gluten free, wheat free, dairy free, soy free, nut free - cake does contain eggs
Ingredients:
Chocolate Cake
⅔ cup (100g) coconut flour
½ cup (55g) cocoa or cacao, unsweetened
½ tsp baking soda
½ tsp salt
2 tsps baking powder
6 eggs
½ cup puréed carrot (can be swapped for mashed banana or cooked sweet potato puree)
½ cup (170g) maple syrup or rice malt syrup (185g)
¾ cup (250mls) milk (of choice)
1 tbsp vanilla extract
Whipped Coconut Cream
1½ cups coconut cream (remove the lid from a tin of coconut cream/milk and place in the fridge overnight. Remove and use the thickened cream, discarding the watery remains) - OR - try this Natures Charm Coconut Whipping Cream
3 tsps vanilla extract
3 tsps maple syrup
Construction (the fun bit!!)
1-2 cups shredded coconut
4 strawberries; 2 halved, and 2 halved and each half cut into 3 slices
3 cupcakes (choose either chocolate or carrot)
5 chocolate cookies, crumbed (this makes the edible dirt)
Cardboard bunny ears (cut out to your own size requirements)
Carrots for decorating
Method:
Chocolate CakeRecipe From happytummies.com.au - Copyright 2017 Mummy Made.It & Happy Tummies
Enjoy! Lisa & Lisa x
PS. Don't forget to grab your copy of Lisa's fab Easter cookbook here NOW!
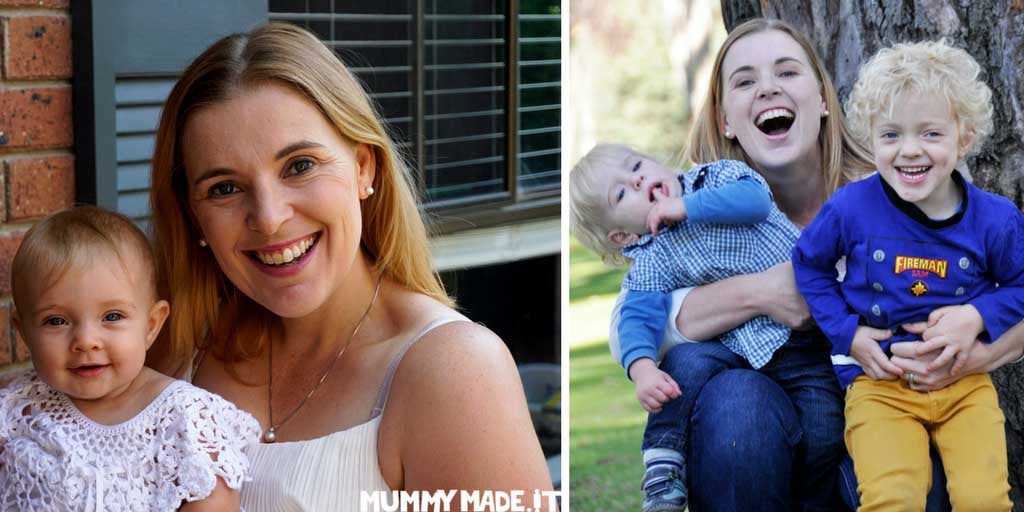
Lisa McInerney is a mum and a Chiropractor from Victoria with a passion for healthy, creative baking. With 3 young children she knows the value of providing the best possible nutrition to create healthy bodies and minds. Her website, Mummy Made.It, features healthier versions of your favorite desserts and treats using gluten free, paleo friendly and natural ingredients. Lisa has a fascination with using sweet potato in desserts and many of the recipes use vegetables and fruits in ways you have never imagined. Healthy can be Tasty!